Here at Art Smart, we have a unique way of doing things. As you may have known about our story in our previous blog post, our commitment to our students' art development is strong and we make sure we are actively shaping it every step of the way.
In this article, we'd like to delve deeper into the five simple and effective reminders we always tell our students -- hold the brush properly, paint the outlines first, don't leave out white spaces, clean the outlines, and add finishing realistic touches.. Read on!
In this article, we'd like to delve deeper into the five simple and effective reminders we always tell our students -- hold the brush properly, paint the outlines first, don't leave out white spaces, clean the outlines, and add finishing realistic touches.. Read on!
Hold the brush properly
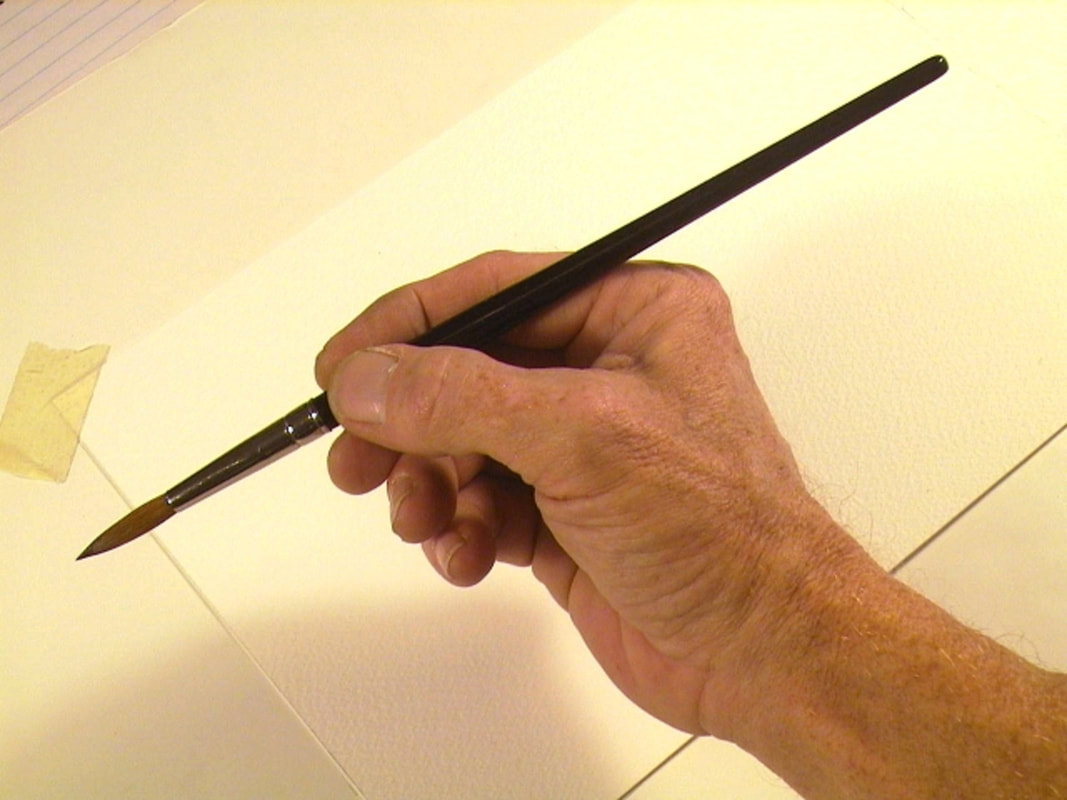
Did you know that there also a bit of art when holding a paint brush? Of course there is! Holding a paint brush may sound simple, but knowing how to handle it the proper way can significantly impact the outcome of your project.
The Classic Brush Hold is simply the act of holding a paint brush like you would a pen or pencil for writing. The only difference is you will be holding the brush further from its bristles or hair.
For the Classic Brush Hold, grip the thickest part of the handle above the body of the brush (ferrule) and start painting! Make sure to weight the brush on your hand too, roll it with your fingers, and find the balance of the brush in your grip as you go.
For the Classic Brush Hold, grip the thickest part of the handle above the body of the brush (ferrule) and start painting! Make sure to weight the brush on your hand too, roll it with your fingers, and find the balance of the brush in your grip as you go.
There is also the Kingman Brush Hold, which is a type of brush grip similar to how calligraphers in the East hold their pens or pencils for handwriting and drawing. This approach to brush holding is particularly helpful when making fine lines, adding details and creating varying thickness with the brush.
Paint the outlines first
Sketches and other preliminary drawings are made using soft pencil marks so they are easy to erase afterwards. So now begs the question -- why paint the outlines first? Outlining will help you feel more comfortable when it's time to color the bigger sections or portions of your artwork. By outlining with paint, you will know exactly that you are coloring the right area with the proper colors you have in mind. This way, your painting looks more clean, well-defined and totally color-confident!
Make it a habit to make a rough sketch of your artwork, outline, and make it truly alive with the colors you like to use.
Do not leave out white spaces!
As much as possible, we motivate our students to always have their artwork completely colored. While white spaces on a canvas can certainly be a part of an overall piece, having a colored ground can do a number of fantastic things to your art's overall appeal.
One is it prevents your painting from looking undone or unfinished. Second, empty white spots on your canvas can immediately attract attention, which is not ideal after all the work you put in choosing and applying colors. In instances of abstract art where the confluence of colors (including white) is acceptable, try making all parts of your work covered in paint. And third, a fully-colored painting can immediately help you convey the mood of your painting. White spots purposely left out can affect the overall theme.
One is it prevents your painting from looking undone or unfinished. Second, empty white spots on your canvas can immediately attract attention, which is not ideal after all the work you put in choosing and applying colors. In instances of abstract art where the confluence of colors (including white) is acceptable, try making all parts of your work covered in paint. And third, a fully-colored painting can immediately help you convey the mood of your painting. White spots purposely left out can affect the overall theme.
Clean the outlines
Outlines make or break the final look of your painting. No matter how great your composition is, your choice of colors and everything else in between, the final look of your painting will be compromised if the outlines are not clean.
We suggest you use small brushes for making details (which we will discuss in full length in a bit) and flat brushes for slightly larger areas of color. This tip is most especially applicable when working with acrylic paint.
When painting straight lines or edges, try using artist' tape to ensure your lines are neat and even. Remember also not to overload your brush with too much paint because once the paint dries on the tape, you there might be jagged ridges on the edge, and you don't want that.
More importantly, for clean outlines, always use high-quality paints that provide good coverage.
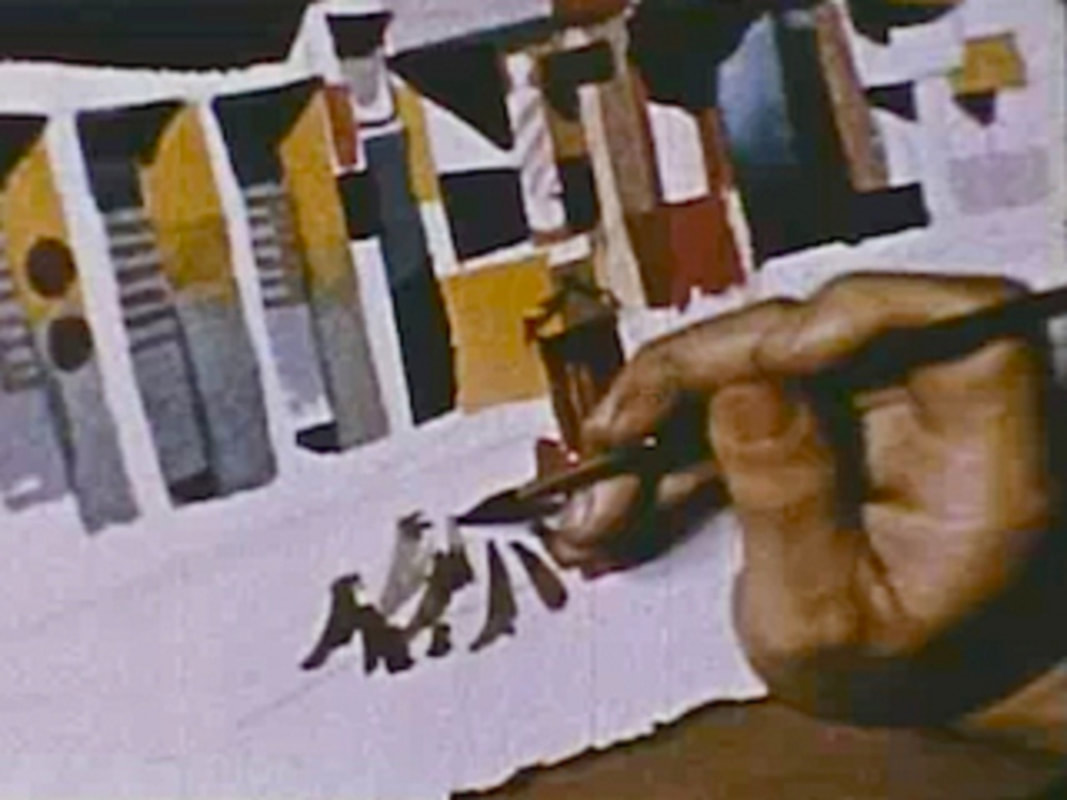
Add finishing realistic touches
You're almost done!
Application of varnish, creating shadows based on a light source, adding details to a subject's hair or face, creating the stem details of a leaf -- these are just some of the many finishing work you can do as you can consider your painting 100% done and complete. Use small-tip brushes and well-diluted paint when adding the fine details to your work.
Application of varnish, creating shadows based on a light source, adding details to a subject's hair or face, creating the stem details of a leaf -- these are just some of the many finishing work you can do as you can consider your painting 100% done and complete. Use small-tip brushes and well-diluted paint when adding the fine details to your work.
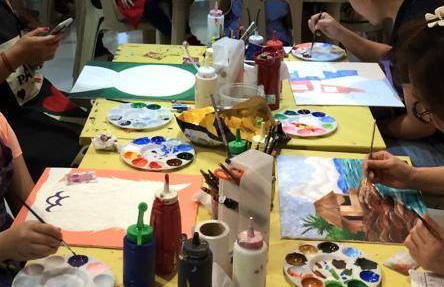
Explore art at Art Smart
Here at Art Smart, we offer year-round classes for acrylic painting, watercolor painting, pastels, sketching, drawing, crafts and more! Witness the Art Smart experience for yourself and continue your art journey here.
We also have off peak rates during weekdays and regular rates. Art parties, private events and special sessions for large groups are also available. Please schedule and reserve by calling 0995-260 8927/ 02-7886766/ 02-6160305/ 0917-8784766!
We also have off peak rates during weekdays and regular rates. Art parties, private events and special sessions for large groups are also available. Please schedule and reserve by calling 0995-260 8927/ 02-7886766/ 02-6160305/ 0917-8784766!
Photo source:
https://watercolorpainting.com/brush-exercise/
https://watercolorpainting.com/brush-exercise/
 RSS Feed
