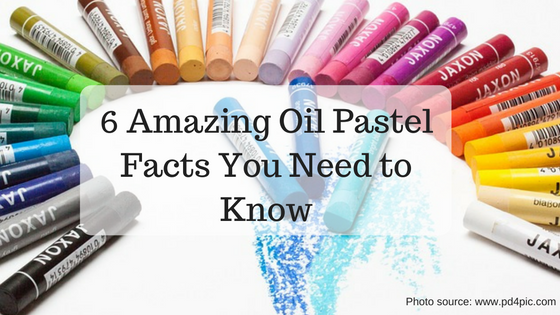
Learning how to draw, color and paint using oil pastels is a great skill to add to your artistic arsenal. Oil pastels are a unique medium and truth be told, it can take some practice first to learn how to work with them extremely well.
In this article, we'll share with you six amazing facts about oil pastels that we hope can help you get excited in learning how to use it. Let's get to it!
In this article, we'll share with you six amazing facts about oil pastels that we hope can help you get excited in learning how to use it. Let's get to it!
Fact 1: A short, yet colorful oil pastel history
Learning how to draw, color and paint using oil pastels is a fantastic skill, but did you know that it was only in 1921 when oil pastels were invented?
It was invented as a high-quality crayon that combined a wide and vibrant color range and a unique, soft malleability. Oil pastels first appeared with Sakura Cray-Pas in 1925 from Osaka, Japan. The term "Cray-Pas" came from the company's invention of combining non-toxic crayons and pastel pigments, eliminating dust while managing to keep the strength and opacity of traditional soft pastels.
It was invented as a high-quality crayon that combined a wide and vibrant color range and a unique, soft malleability. Oil pastels first appeared with Sakura Cray-Pas in 1925 from Osaka, Japan. The term "Cray-Pas" came from the company's invention of combining non-toxic crayons and pastel pigments, eliminating dust while managing to keep the strength and opacity of traditional soft pastels.
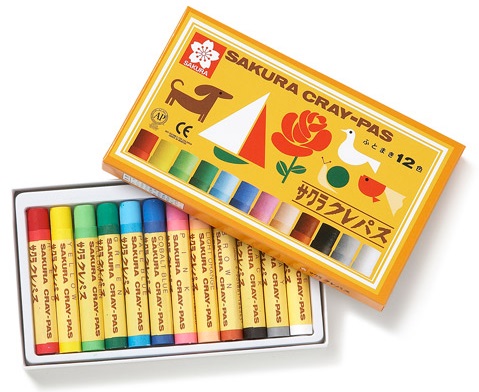
Photo source: www.j-subculture.com
History also has it that in 1930, Talens of Holland introduced Panda Pastels to the market. At that time, modern artists loved drawing and painting on any available surface they find while missing out on the opaque brilliance of traditional pigments. Although Panda Pastels were intended as a children's product, many seasoned artists used it as their medium of choice.
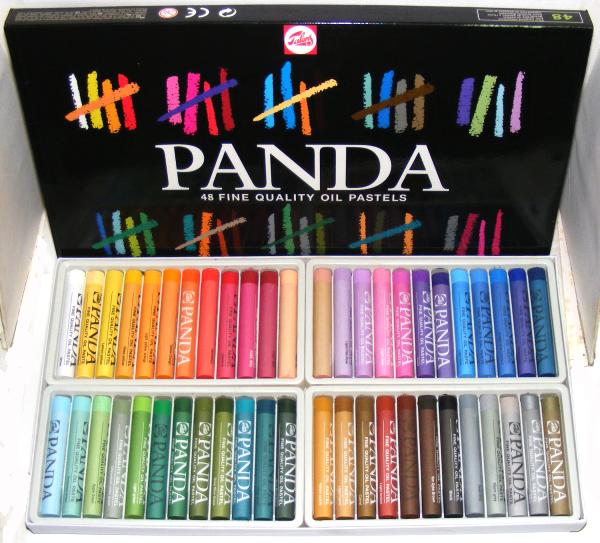
Photo source: www.violtan.com
And finally, history also tells us that in 1949, Henri Sennelier, an heir to a family paint company, created an art product specifically for Pablo Picasso and Henri Goetz. Pablo Picasso wanted to use professional pigments in malleable sticks and Henri Goetz wanted to do sketches under oil paintings.

Photo source: www.details-express.co.uk
Eventually, Sennelier Oil Pastels came to be the oil pastel of choice among well-known artists. It originally came in a palette of classic hues before the range of colors was expanded with the addition of grey, metallic and iridescent hues.
Fact 2: Even if you are new, start with quality pastels
Remember that the quality of your oil pastels is very important - even if you are just starting to learn how to use it for your art.
When deciding on the oil pastels you should buy, consider oil pastels that are softer and easier to blend together.
Start with a small set of high-quality oil pastels and that start expanding your range by purchasing individual sticks from artist-quality brands.
When deciding on the oil pastels you should buy, consider oil pastels that are softer and easier to blend together.
Start with a small set of high-quality oil pastels and that start expanding your range by purchasing individual sticks from artist-quality brands.
Fact 3: They have interesting similarities with other medium
By now, we can say that oil pastels are unique tools to use. In fact, many artists prefer using oil pastels over other coloring options!
Did you know that oil pastels have very similar characteristics with soft pastels and crayons?
Since a component of oil pastels is an oil binder, oil pastels are relatively less powdery than soft pastels, making it easier to blend using just your finger or a blending stump. Additionally, since it is oily, oil pastels can be layered easily like soft pastels.
Similarly, oil pastels behave much like crayons when laid out on a drawing surface. But instead of achieving a crayon-like drawing, oil pastels become more buttery when layered and eventually behaves much like paint.
Photo source: www.vocaladymagazine.com
If you are a fan of using soft pastels and crayons, you'll definitely have fun too using oil pastels in your art!
Fact 4: There are plenty of techniques to enjoy and master
If you are familiar with using colored pencils in your art, you will find that majority of colored pencil techniques apply to oil pastels as well.
The first oil pastel technique you can do is creating an underpainting. Since it is acting as the base, make sure that your underpainting is loose so you can add a layer of local colors on top of it later on.
Second technique is layering with colors. To achieve perfect depth in value and in color, make sure your colors are balanced and layered.
The third technique is using your oil pastels in slowly building up your applications. When you add large quantities of pastels a little too quickly, this can lead to a muddied artwork and you don't want that!
We invite you to master the rule of R3s by watching this video below!
Fact 5: When blending your oil pastels, take note of these three steps
Working with oil pastels can be a thick and greasy business! As you manipulate your way into blending oil pastels, remember these three simple ways you can achieve different effects, hues and textures! Experiment with your options until you find the one you are most comfortable using.
The first option is to pre-blend your oil pastels. Pre-blending requires combining your oil pastel colors together on a palette before applying it to your canvas. Use a palette knife to cut pieces off your oil pastel stick and use the same knife to combine the two or three different colors together. What will result is a pasty, oily paint that you can apply to your canvas using the same knife or your finger.
The second option is to blend your oil pastels directly on your canvas. Apply one color of oil pastel on your canvas before applying the second one. Use a tool to blend the two colors together until the two edges are smooth.
And for the third option, you can color mix or overlay your oil pastels directly on your canvas. This is quite similar to the second option, but only this time, you are blending larger areas of colors together. Start by applying a generous layer of oil pastel color to your canvas followed by a second layer of a different color. Add additional layers and blend until smooth and once you have achieved your desired hue.
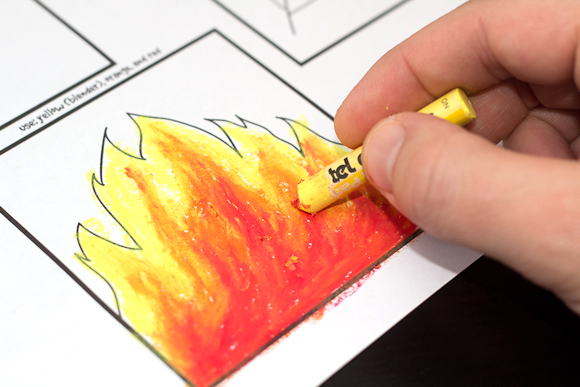
Photo source: www.artforkidshub.com
Fact 6: You can easily keep the mess under control!
Just like in anything you do before starting an artwork, keeping your working table and surroundings free from any possible mess is essential.
Before you start working with oil pastels, make sure your work table is covered with paper towels and you have enough sheets to use as you go along.
Making sure you have paper towels by your side is crucial because oil pastels can quickly get on your fingers. Save your clothing from any disaster!
If you do not want to use paper towels, an old rag or any old article of clothing you have no plans of using will definitely do. These are good for wiping off yourself and for cleaning your sticks of oil pastels too before storing them back in their boxes.
And if you really want to avoid the mess, there are those who wear plastic gloves on their hands. It might work the same magic on you!
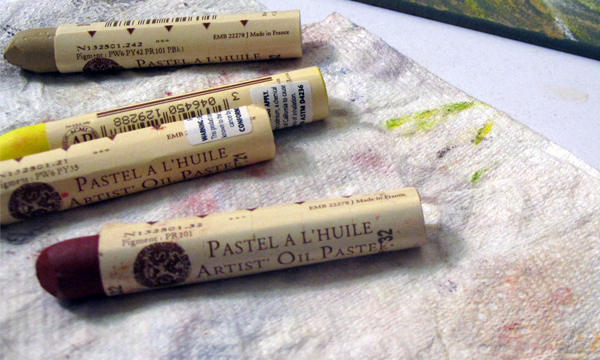
Photo source: www.oilpasteltechniques.com
And now's your turn!
If you want to learn how to use oil pastels with proper guidance, we encourage you to join us in our art classes here at Art Smart! Beyond oil pastels, we will also teach you how to draw, paint, do crafts, do mosaics and so many other exciting art activities.
Here at Art Smart, we accept students as young as 4.5 years old and above. Kindly see our schedule below of art classes for your reference.
Here at Art Smart, we accept students as young as 4.5 years old and above. Kindly see our schedule below of art classes for your reference.

Our rates are available at this page so we hope you can check that out! And once you are ready to book an art class with us please do call us at these numbers: 0915-5948191, 0917-8784766 or (02)7886766.
Thank you and we hope to see you all in any of our studios!
Thank you and we hope to see you all in any of our studios!
 RSS Feed
